A little bit more than in-box review
Nakajima Ki-43 I Hayabusa
1/72 Fine Molds/ Model Graphix
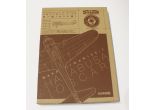
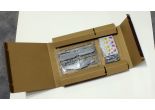
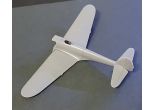
A rigid carton box with a side profile on one side and a top one on the other is packed with the March issue of Model Graphix magazine, contains brand new 1/72 scale Fine Molds plastic kit. This is the new Nakajima Ki-43 I Hayabusa produced, like the previous Reisens and Ka-14, exclusively for Model Graphix magazine. The model is thematically linked to the Japanese animated fiction series The Magnificent Kotobuki.
When I discovered that Fine Molds had released brand new 1/72 Hayabusa model I was delighted. The only other available kits of this version are the aged Fujimi kit and not even speaking of the older Arii / LS kit, originating in the 1960s. I’d expected another Fine Molds design innovation as I’m used to it from the past. The latest 1/72 kit was the prototype of a Japanese naval fighter called Mitsubishi 9-shi, the prototype of the famous A5M Claude. This kit featured several building-friendly innovations. I will not prolong it and carry on to the box contents.
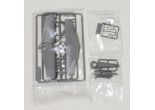
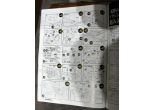
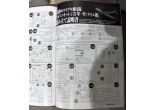
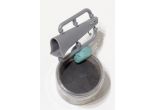
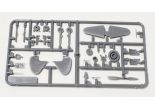
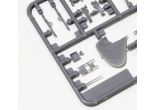
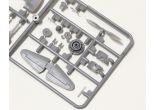
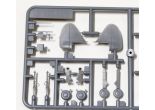
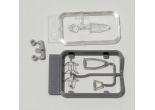
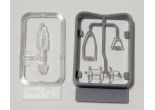
The kit consists of 36 parts moulded in grey plastic (plus 2 soft PVC caps) and it is split into 4 sprues, one sprue with clear parts and 2 separately packed parts also made of gray plastic. Of course, there’s a decal sheet included but contains markings only for the aforementioned animated series. Moreover the decals include a dashboard, propeller warning stripes (only in yellow) and yellow wing leading edge ID bands. Separate model instructions are not included; it is printed in the relevant magazine.
As soon as I first saw the instruction sheet at the Model Graphix website, several engineering innovations struck my eyes - split fuselage as on a real aircraft, separately moulded canopy framing and upper wing half design – it is one-piece including centerline.
How it did eventually ended up? I can’t remember the last time I’d brought the kit from thePO, tore off the shipping box with a taste and expectations and begun to examine it. Initial enthusiasm I’d experienced cooled after a while.
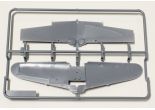
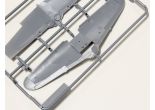
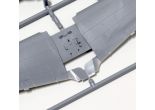
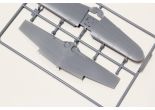
The kit features engraved panel lines as a standard but this time it is not as sharp and deep as I’m used from Fine Molds previous kits (eg 1/48 A5M, Ki-15 / C5M2). The kit surfaces also features rivet lines. I personally am not a big fan of riveting, and in 1/72 scale I find it useless, nevertheless it is a modern trend just like overdone fabric covered control surfaces. In a brief comparison with scale drawings and photos, rivet lines seems located and fine. As I have already mentioned, the upper wing half is moulded with a center-line, where the top of the center-line creates the cockpit floor. That is exactly how the floor in a real aircraft originated. Moulded on the floor are the rudder pedals, control stick bracket and 4 boxes with controls. Ailerons and wing tips (to achieve a thin wing trailing edge) are moulded on in the upper wing half; lower wing half features retracted landing flaps and relatively shallow undercarriage wells. I wrote relatively because the undercarriage wheels were never completely hidden in the Hayabusa wheel wells when retracted, approximately 15% of the wheel thickness protruded over the outline of the wells.
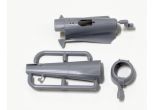
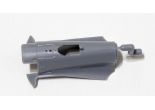
In addition to the main parts located in conventional sprues, there are 2, respectively 3 parts included separately - the cowling, upper central fuselage part, and finally, hollow fuselage part (rear part behind the canopy to the tail planes) injected in one piece. I’ve seen this engineering only in 1/32 scale, yet since it is tricky and demanding to avoid offset (it includes the moving slider in the mould, in this case directly in the parting line) and last but not least, it is expensive. Fine Molds mastered this solution excellently; the fuselage does not have an offset in parting line (only small common flash, aprox.0.1 mm) and when I dry fitted the parts, not cleaning the intakes completely, the parts even holds on their places without a glue or tape. Separate upper central fuselage part and engine cowling could indicate that other versions of Hayabusa will follow in future (my speculation).
The cowling is also created in mould by a slider, as evidenced by a uniform and perpendicular engraving all over its surface, but also unfortunately slight offset in parting line on the joint of the front ring.
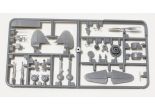
Small parts sprue includes, among others, single piece horizontal stabilizer which is to be inserted into the cut-out in the rear fuselage, and vertical one, this time consisting of two parts that will be slid over the horizontal one eventually creating tailplanes.When I dry fit the parts, all fit on the first attempt and held in place even without glue or adhesive tape. The sprue also includes an instrument panel, separate seat and back rest including a tubular structure; undercarriage legs, covers and wheels are even included in two versions, i.e. lowered or retracted. The powerplant with a detailed carter and tubular oil cooler are moulded in one piece. When I wrote the powerplant, it is only the heads of the front cylinder row. Although this sub-assembly is very nicely rendered, the wide opening in the cowling front ring will reveal this insufficiency, i.e. missing rear row of the original Nakajima Ha-25 two row 14 cylinder engine that powered Hayabusa.
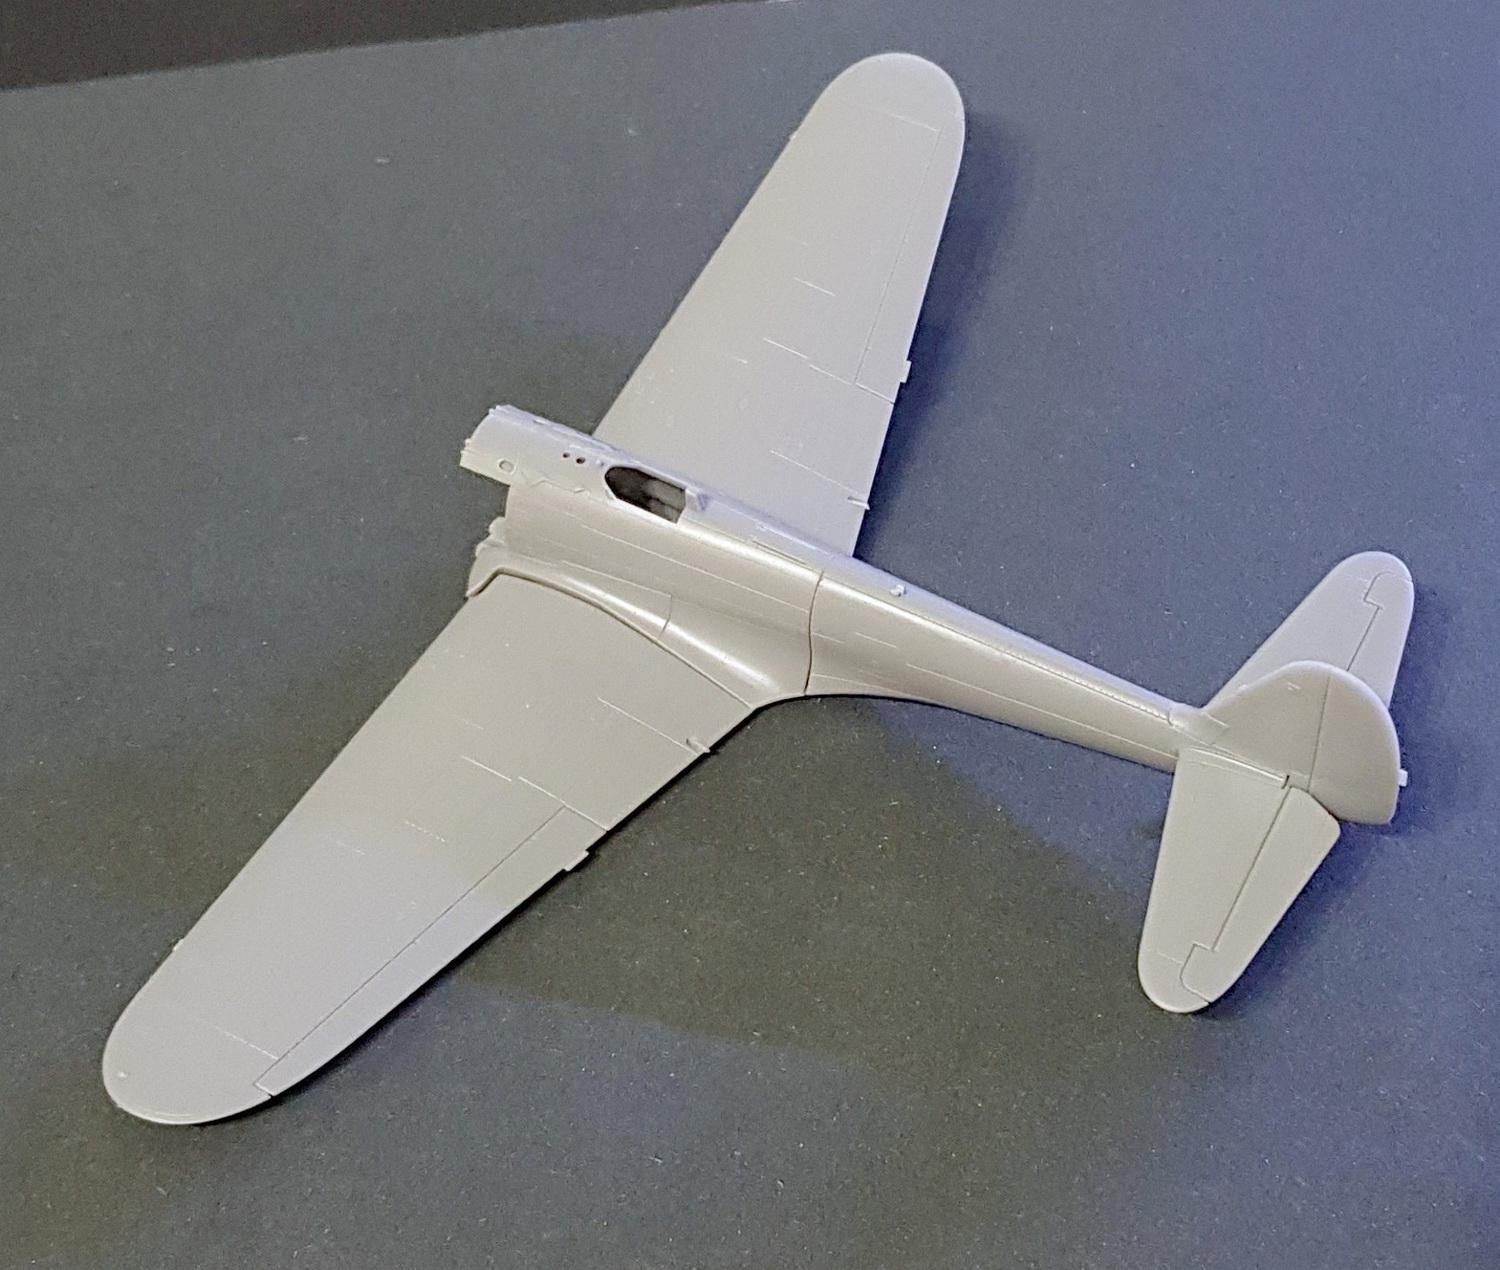
Unfortunately what this or any other sprue does not contain is the rest of the cockpit. I’d searched for it but in vain. Nothing. In fact the kit does not contain or deals with the cockpit sidewalls and mounted on controls. Truth is that the cockpit opening is only4.8 mmwide and therefore it may seems like the interior will not be seen properly; but here’s the catch, it will bee visible. I will not find out whether it was the intention of a magazine publisher (design of a simpler kit) or model producer; from my point of view missing cockpit parts declassify the kit.
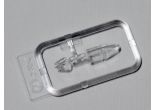
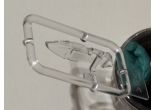
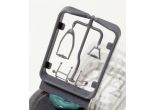
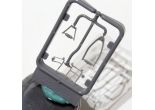
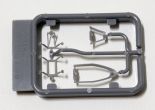
Finally the last 2 frames contain the aforementioned engineering innovation. The canopy clear parts feature recesses for the extra injected canopy frames that are included in a separate sprue. This sprue is injected using Fine Molds technology called NANO DREAD *. This means that the frames are very thin and accurate. I'm talking about0.4 mmthickness of plastic. By combining such thin frames with recesses on clear parts, a very nice canopy with sharp frames can be created without the need to use masks or other means to paint the canopy frames conventionally. I am really looking forward to test out this innovation.
This could lead up to a revolution in plastic kit engineering, as even less skilled modelers or beginners could achieve a great result - beautiful canopy framing.
* This is not my first encounter with NANO DREAD technology. Since I also like the ship kits and I’m aware Fine Molds had started to use this technology around 2008. These are always small sprues in a size of a few centimeters (the size of the mould is similar to a cake box), with high rims that contain small, but extremely detailed parts.
That’s all folks for my first review article.
Following the gallery there’s a survey. Anybody can rate the review and/ or write me a comment.
© DEAD 2019
Review Survey


